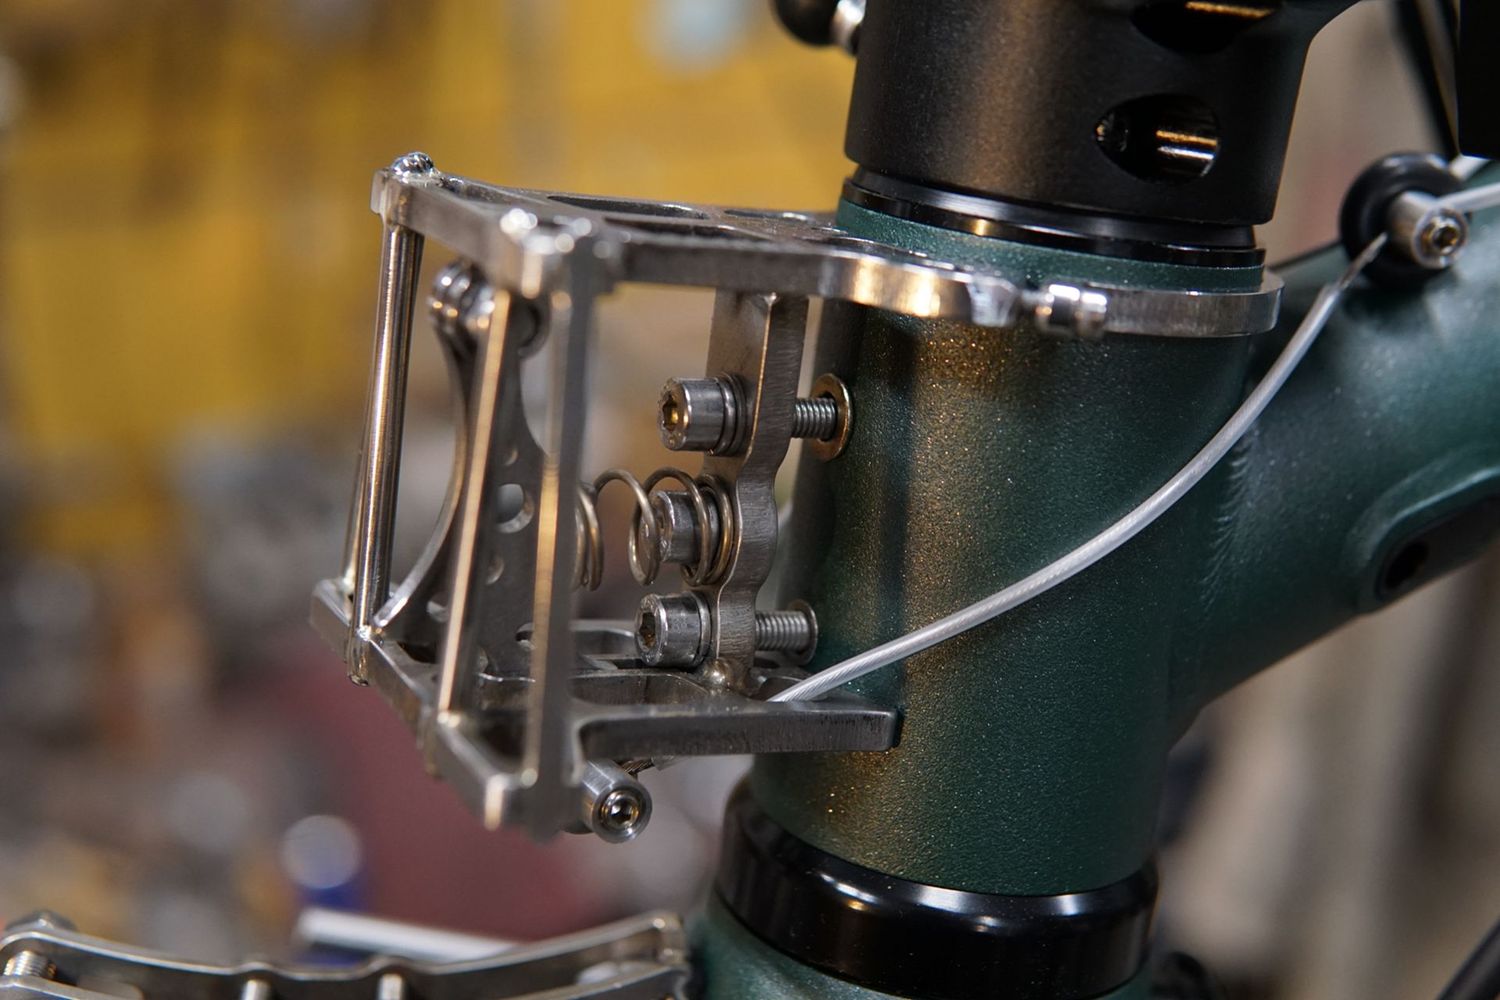
Eerder Full Metal Bracket MK4 front luggage block for Brompton G line
I will initially make 8 of these and will put them online as soon as I've got some ready to sell. Fill in your email address if you would like to get a back in stock notification email with a link to this product. If I put one up for sale you will get a notification email, but if somebody else is faster than you, you have to subscribe again. It works only one time, unhandy but that's the way it works...
This version of the Full Metal Bracket fits only to the Brompton G line ! For the T line you need a different version.
Note: NOT compatible with any seatposthugger made to date, However I do make the Model5 seatposthuggerXS based on the same design of this steel carrier block.
Note: The original plastic Brompton Front carrier Block is attached with two zinc plated 28 mm long bolts. Don't use these as they are 3mm too long and will protrude on the inside and damage and lock the fork steerer. Use the supplied 25 mm stainless steel bolts.
Proudly made in the Netherlands.
Assembly instructions:
- tools needed: a 2.5 a 3 and a 4 mm T grip Allen key (or a ratchet with an extension and 4mm Allen bit) and a 8mm spanner
- First remove the two grub screws from the headtube if you didn't have another carrier block on it before. Use a 2.5 mm allen key to do so.
- the Full metal Bracket comes pre assembled so first you have to take it apart to enable you to tighten the lower M5 bolt.
- you can do this on a bench, but I find it convenient to install the bracket to the bike first so you can work with both hands
- to do so, you need to remove the top clamp by undoing the screw with a 2.5mm allen key. Take off the clamp in downwards direction because the jigsaw connection is slightly conical
- Now put the supplied M5 bolt with the spring washer and the regular washer in the top hole, finger tight only, use a 4mm Allen key with the ball end. In case you don't have ball end Allen keys you have to take out the latch first (step 8)
- from now on you can work with both hands and make sure to not lose any of the small hardware
- now remove the latch with the 3mm allen key and the 8mm spanner. When you pull out the bolt make sure not to loose the washer in between the latch and the eyelet. And you have to take off the spring from the latch or remove the spring from the bolt head and take the latch out with the spring still on it. Either way it can be a bit fiddly
- You can now tighten the lower M5 screw, torque it down to about 5 to 6 Nm or do it by feel if you're experienced enough. You need a T handle type of Allen key or a ratchet with an extension in order to reach inside. A regular Allen key is too short to reach inside with the short side. Note: add the spring washer first to the screw and the plain flat washer second, just like you received it. Don't overtighten the M5 screws, when you do it can be a hell of a job to get the remains out of your frame. I don't own a dedicated torque wrench, it's build into my right hand, but as a guideline 5 to 6 Nm. In case you don't trust yourself with this, hand it over to an experienced mechanic.
- Next tighten the top Allen screw, same torque 5-6 Nm
- slide on the top clamp in upwards direction and tighten the M3x16 screw with a 2.5 mm Allen key, tighten it with care. (torque guideline: 0.5-0.7 Nm) There should be a +/- 3.2mm gap in between the clamps when done. (depending on the thickness of the powder coating this may be a bit less or more)
- Now insert the latch with the spring already on it through the slot in the FMB and push the spring over the head of the lower Allen screw. Insert the M5x12 screw into the latch and push the flat washer in between the latch and the eye, push the screw through and tighten the locknut. Tighten it all the way and then undo 1/8 th of a turn to make sure the latch operates freely and snappy.
- Put the leather lace through the end of the latch, through the slots in the bottom plate of the FMB and around the headtube. Tie a knot at the end and you might want to add the zip tie to keep the lace from hanging down so it's easier to reach.
Now it's time to make a ride! #overloadedBrompton #FullmetalBracket
Material: 5 mm stainless steel AISI 304 Stone tumbled RAW and Tig welded
Hardware: A2 quality stainless steel hardware, Stainless steel hardened spring custom made in Sweden
Weight: 198 gram
Load capacity: more than you can handle
Also included is the Full Metal Bracket - "Make bikes not war" poster on 300 grams 100% recycled paper in a small size of 105x105mm. A bigger A5 size poster can be ordered as extra.
More photos in the Instagram my stories folder
